Step #1
First you will need to download the two textures below and convert them into photoshop patterns for later. To do this simply open each image then go to EDIT >> DEFINE PATTERN in the menu. Alternatively, if you’ve downloaded the source files at the end of this post, simply install the included (.pat) pattern set by double clicking on it.)


Step #2
Create a new transparent document 670px * 400px at 72dpi as seen below.

Step #3
To keep our psd file organized first click on the folder icon in the layer pallet 3 times to create three folders and name them FRAME, TEXT, and BACKGROUND respectively.

Step #4
Create a new layer within the FRAME folder and name it frame. Activate the shape tool by typeing U, make sure the rectangular shape tool is selected, then draw out a square similar to the one below, leaving a little room on the top and bottom.

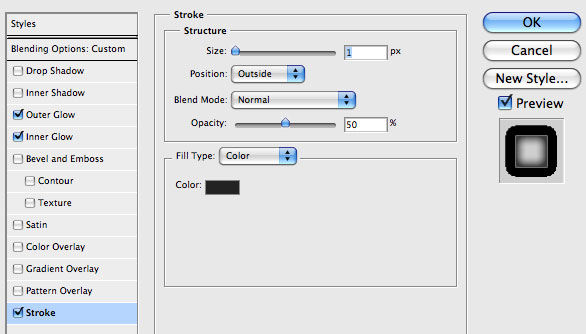
Step #5
Activate the layer styles dialog box on your shape layer by double clicking on it or by going to LAYER >> LAYER STYLE >> BLENDING OPTIONS in the menu. Then enter the settings below


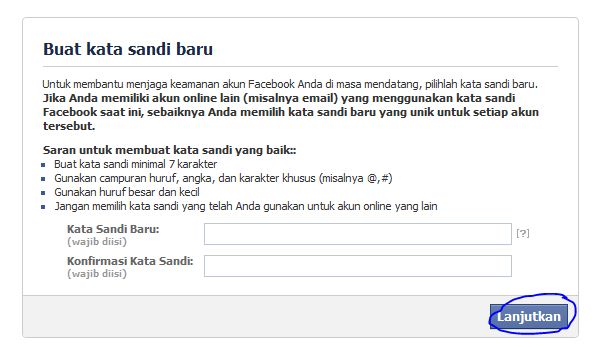
Step #6
Create a new layer above the frame layer by going to LAYER >> NEW >> LAYER in the menu, activate the text tool by typeing T, then type in your title using the settings below.

STEP #7
Within the BACKGROUND folder create a new pattern fill layer by going to LAYER >> NEW FILL LAYER >> PATTERN in the menu and choose the grungy corrugated metal texture you either installed or created in step #1 as seen below.

STEP #8
Open the layer styles dialog box by going to LAYER >> LAYER STYLE >> BLENDING OPTIONS in the menu and enter the settings you see below.

STEP #9
Above the grungy corrugated metal texture layer create a gradient fill layer by going to LAYER >> NEW FILL LAYER >> GRADIENT in the menu with the settings seen below.

STEP #10
Open the layer styles dialog box on the gradient layer you just created and enter the settings you see below.


STEP #11
Within the TEXT folder now activate the text tool by typeing T then open the character pallet and choose Arial Black at 310pt with a vertical stretch of 110% as seen below and then type in some text.

STEP #12
Duplicate the text layer you just created by going to LAYER >> DUPLICATE LAYER . Then activate the layer styles pallet on the top text layer and enter the settings you see below.


STEP #13
Open the layer styles dialog box on the botom text layer now and enter the settings you see below.


STEP #14
To create the shadow beneath the text create a new layer beneath the two text layers, activate the brush tool by typeing B and choose a basic round brush with the settings highlighted below. Then paint in a shadow at the base of each letter as seen below.

STEP #15
To clean up the shadow use the motion blur filter by going to FILTER >> BLUR >> MOTION BLUR in the menu and enter the settings below.

STEP #16
To finish up set the layer blend mode of the shadow layer to Multiply and the Opacity to 80% as seen below.

Thats it!
You should now have something that looks like the image below.


Source tut... : mysitemyway.com